
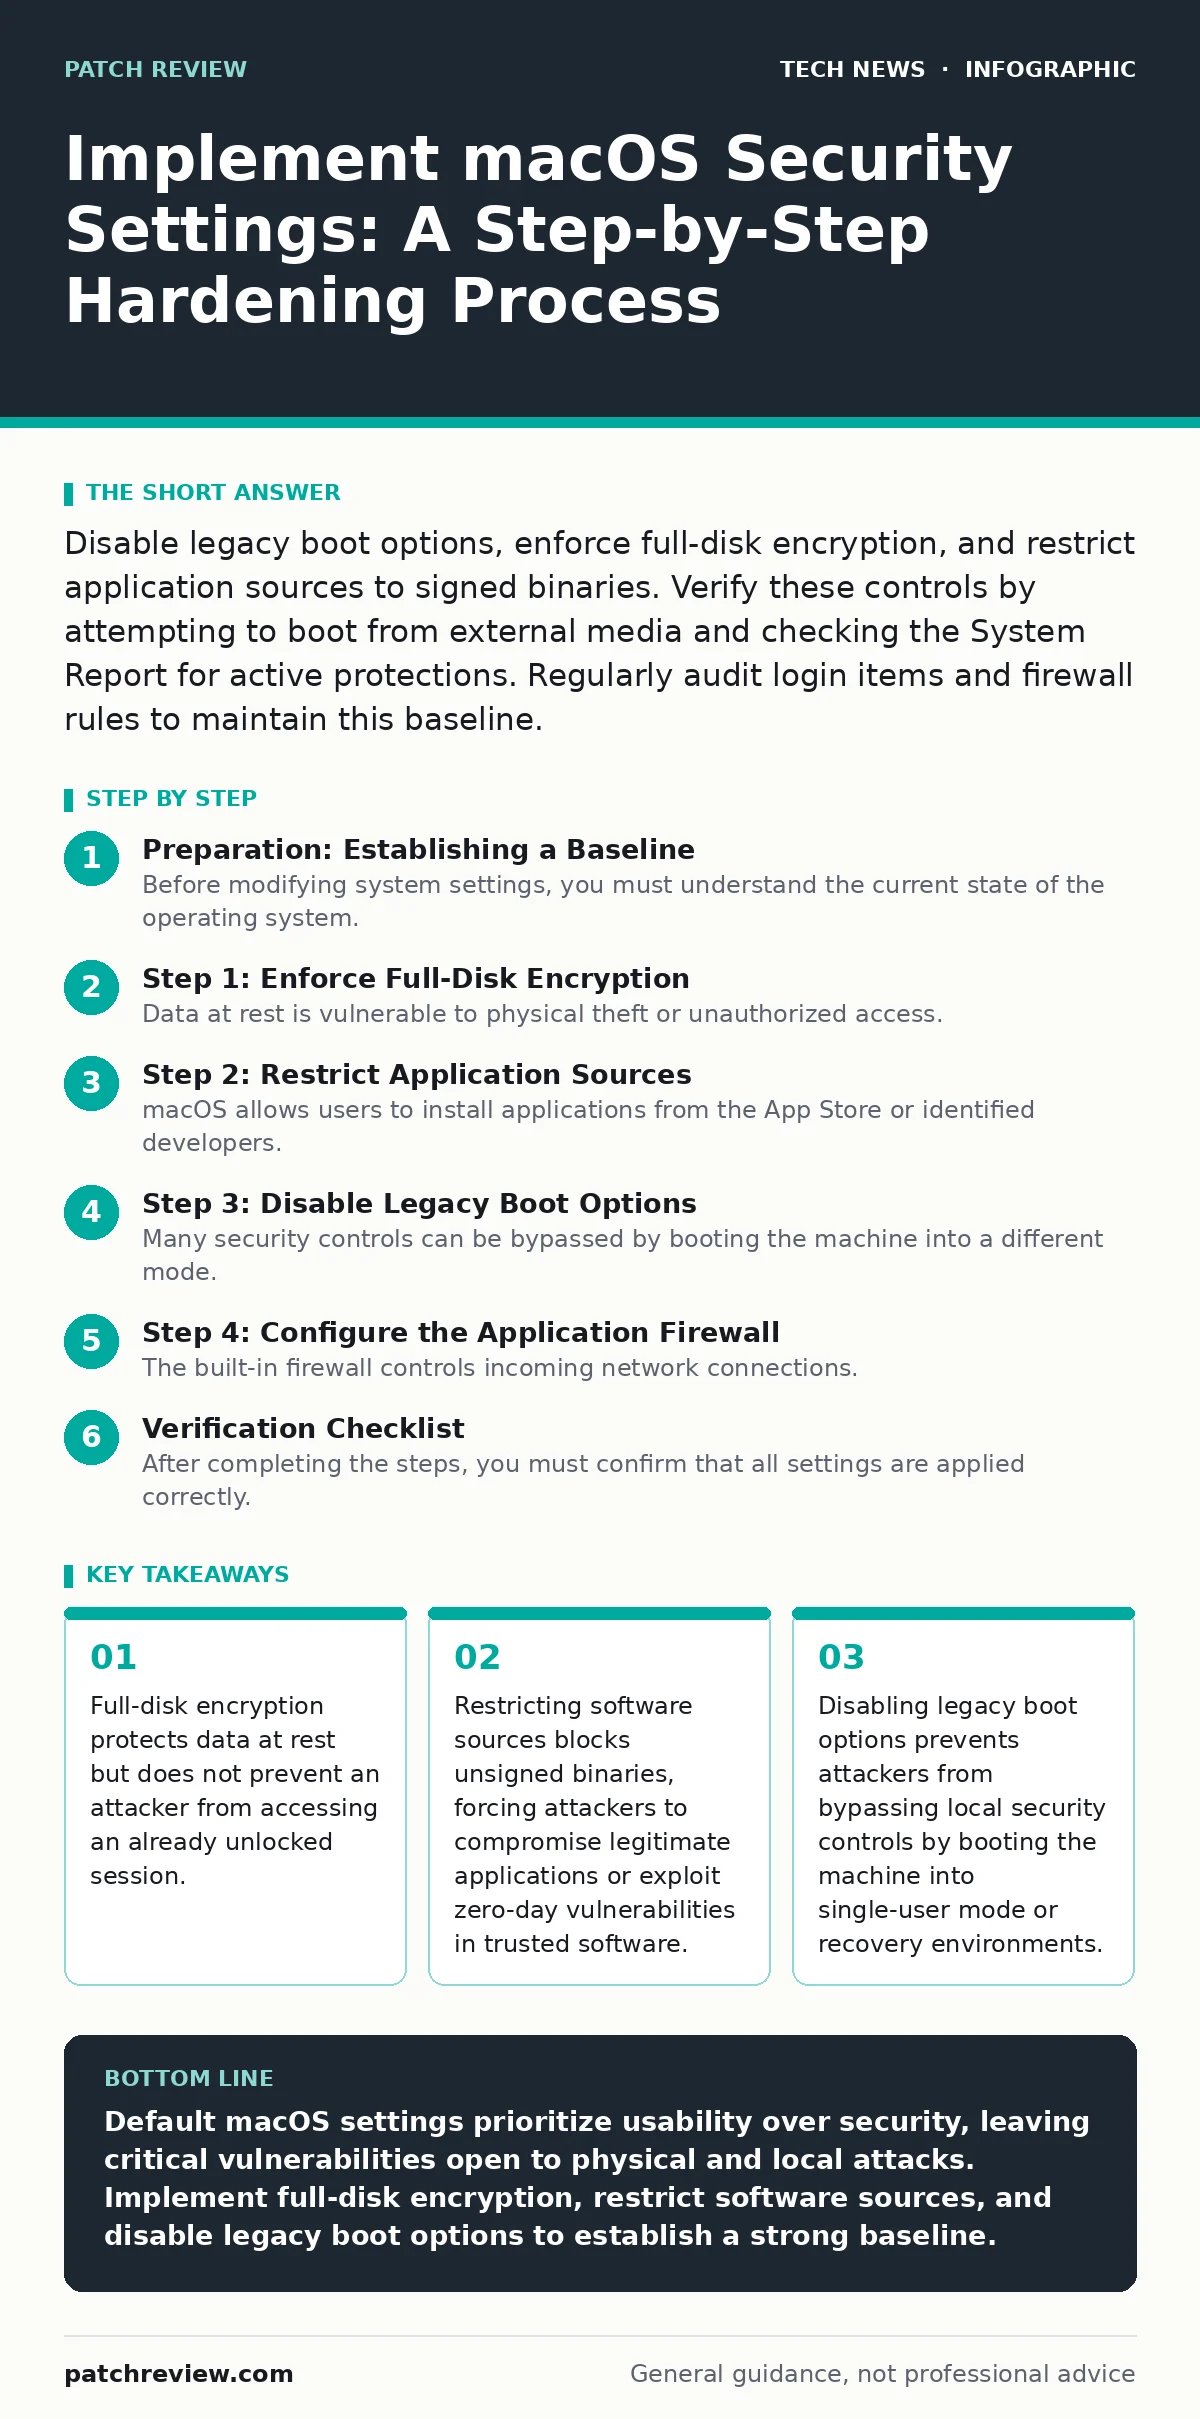
Disable legacy boot options, enforce full-disk encryption, and restrict application sources to signed binaries. Verify these controls by attempting to boot from external media and checking the System Report for active protections. Regularly audit login items and firewall rules to maintain this baseline.
Preparation: Establishing a Baseline
Before modifying system settings, you must understand the current state of the operating system. Default configurations often allow behaviors that are convenient for casual users but dangerous in professional environments. You need to identify which services are running, which applications have administrative privileges, and how the machine handles external boot media.
Create a restore point or snapshot of your system if your hardware supports it. This allows you to revert changes if a security setting breaks a critical application. Document the current list of login items and installed kernel extensions. Kernel extensions are low-level software components that run with the highest privilege level, giving them direct access to hardware and memory.
Step 1: Enforce Full-Disk Encryption
Data at rest is vulnerable to physical theft or unauthorized access. macOS includes FileVault, a full-disk encryption feature that encrypts the entire startup volume. Without the correct password or recovery key, the data is unreadable, even if the drive is removed and connected to another computer.
Navigate to System Settings and open the Privacy & Security section. Locate the FileVault option and turn it on. The system will generate a recovery key. Store this key in a secure, offline location. Do not save it in a cloud service or on the machine itself. If you lose this key and forget your password, the data on the drive is permanently unrecoverable.
To verify this step, check the FileVault status in System Settings. It should display "FileVault is On." You can also open Terminal and run the command fdesetup status. The output should confirm that FileVault is enabled. This protection does not stop an attacker from accessing your data if you are currently logged in and the screen is unlocked.
Step 2: Restrict Application Sources
macOS allows users to install applications from the App Store or identified developers. By default, it may also allow applications from anywhere, which is a significant risk. Malicious software often bypasses signature checks by being unsigned or by using stolen certificates.
Open System Settings and go to Privacy & Security. Scroll to the Security section. Change the setting for "Allow apps downloaded from" to "App Store and identified developers." This blocks the execution of binaries that lack a valid digital signature from a recognized developer. Digital signatures are cryptographic proofs that verify the identity of the software publisher and that the code has not been altered since it was signed.
To verify this, attempt to run an unsigned application. The system should block execution and display a warning message. This measure does not prevent social engineering attacks where a user is tricked into granting administrative privileges to a malicious script that is properly signed.
Step 3: Disable Legacy Boot Options
Many security controls can be bypassed by booting the machine into a different mode. Single-user mode and recovery mode often have fewer restrictions than the standard operating environment. Attackers can use these modes to reset passwords or disable security features.
Open Terminal and enter the command sudo nvram boot-args="-no_compat" to disable legacy boot options. You will need to enter your administrator password. This command modifies the non-volatile random-access memory, which stores boot parameters. Disabling these options forces the system to boot directly into the main operating system, where security policies are enforced.
To verify this, restart the computer and attempt to hold down the Command and S keys to enter single-user mode. The system should ignore the key combination and boot normally. This step increases the difficulty of physical attacks but does not protect against remote exploits or malware that runs within the main operating system.
Step 4: Configure the Application Firewall
The built-in firewall controls incoming network connections. By default, it may allow all incoming connections for some services or block only specific ones. You need to ensure that the firewall is active and configured to block all incoming connections except for those explicitly allowed.
Open System Settings and select Network. Click on Firewall and turn it on. Enable the option to "Block all incoming connections." This ensures that no external entity can initiate a connection to your Mac without explicit permission. You can then add specific applications to the allow list as needed.
To verify this, use a network scanning tool from another device on the same network. The scan should show that ports are closed or filtered. This configuration protects against port scanning and unauthorized service access but does not inspect the content of allowed traffic for malware.
See also: AI Data Centers Explained: Infrastructure, Power, and Cooling Basics
Verification Checklist
After completing the steps, you must confirm that all settings are applied correctly. Use this checklist to audit your configuration.
- FileVault is enabled and the recovery key is stored securely.
- Application sources are restricted to the App Store and identified developers.
- Legacy boot options are disabled, preventing access to single-user mode.
- The firewall is active and set to block all incoming connections.
- No unnecessary kernel extensions are loaded.
Upkeep: Maintaining Security Posture
Security is not a one-time configuration. You must regularly review your settings to ensure they remain effective. New applications may require firewall exceptions, and system updates may reset certain configurations.
Check for new login items periodically. Login items are applications that start automatically when you log in. Malware often installs itself as a login item to persist across reboots. Review the list in System Settings under General > Login Items. Remove any entries you do not recognize or need.
Monitor system logs for unusual activity. macOS provides detailed logs that can reveal failed login attempts, unauthorized access to sensitive files, or unexpected network connections. Use the Console application to view these logs. Look for patterns that indicate reconnaissance or exploitation attempts.
Refer to our guide on FileVault for deeper insights into managing recovery keys and enterprise deployment. Understanding the nuances of open-source software security can also help you evaluate third-party tools you might install. For network-level protections, review home router security to ensure your broader environment is not compromised.
Troubleshooting Common Issues
Some applications may fail to work after restricting application sources or enabling the firewall. If a legitimate application is blocked, you must add it to the allow list. Open the firewall settings and click the lock icon to make changes. Add the application to the list of allowed programs.
If you cannot boot the system after disabling legacy options, you may need to reset the NVRAM. Hold down the Command, Option, P, and R keys during startup until you hear the startup sound twice. This restores default boot parameters, allowing you to reapply the security settings carefully.
Remember that browser sandboxing is a separate layer of defense. Even with a hardened OS, a compromised browser can still execute malicious code. Ensure your browser is configured to restrict plugin execution and isolate tabs. For remote access, consider using reverse proxies to add an additional layer of authentication and encryption.
Key takeaways
- Full-disk encryption protects data at rest but does not prevent an attacker from accessing an already unlocked session.
- Restricting software sources blocks unsigned binaries, forcing attackers to compromise legitimate applications or exploit zero-day vulnerabilities in trusted software.
- Disabling legacy boot options prevents attackers from bypassing local security controls by booting the machine into single-user mode or recovery environments.
Default macOS settings prioritize usability over security, leaving critical vulnerabilities open to physical and local attacks. Implement full-disk encryption, restrict software sources, and disable legacy boot options to establish a strong baseline.
Frequently asked questions
Does enabling FileVault slow down my Mac?
Modern Macs use hardware acceleration for encryption, so the performance impact is negligible for most users. You may notice a slight increase in power consumption during heavy disk operations.
Can I still install apps from the web?
Yes, you can install apps from identified developers. These apps must be signed with a valid certificate from Apple. Apps from unknown developers will be blocked unless you change the security settings.
What happens if I forget my FileVault password?
You can use the recovery key to unlock the drive. If you lose both the password and the recovery key, the data on the drive is permanently lost and cannot be recovered by Apple or any third party.
How this guide was produced: written by the Patch Review editorial team with AI assistance, checked against the public references listed below, and reviewed when the facts change. See our editorial policy or report an error.